
Trimming a video can feel like cutting a slice of cake. You only want the best part. No crumbs. No awkward start. No extra ending where someone says, “Wait, is it still recording?” That is where Clideo Video Cutter comes in. It lets you trim videos online in a simple way. You do not need to be a video wizard. You just need a browser, a video, and a few clicks.
TLDR: Clideo Video Cutter is an online tool that helps you cut unwanted parts from your videos. You upload your video, choose the start and end points, then export the trimmed clip. It works in your browser, so you do not need to install software. It is great for quick edits, social media clips, school projects, and simple video cleanup.
What Is Clideo Video Cutter?
Clideo Video Cutter is a web-based video trimming tool. That means it runs online. You open it in your browser. You upload a video. Then you cut it down to the part you want.
It is made for people who want quick results. You do not need a giant editing program. You do not need a powerful computer. You do not even need editing experience.
Think of it like scissors for video. But cleaner. And much less pointy.
You can use it to remove the beginning of a video. You can remove the end. You can also keep only the middle part. This is useful when your video has extra footage, long pauses, mistakes, or boring bits.
Why Trim Videos Online?
Videos often need a little cleanup. Maybe you recorded too early. Maybe the good part starts after ten seconds. Maybe your cat knocked something over at the end. Cute? Yes. Useful? Maybe not.
Trimming helps make your video better. It makes it shorter. It makes it sharper. It makes people more likely to watch it.
Online trimming is handy because it is fast. You do not have to download anything. You do not have to learn a huge app. You just open the tool and start.
Here are a few reasons to trim videos online:
- It saves time. You can make quick cuts in minutes.
- It keeps things simple. No complex menus. No scary timelines.
- It works on many devices. Use a laptop, tablet, or phone browser.
- It is great for small edits. Perfect for quick fixes.
- It helps your video look cleaner. Goodbye, awkward pauses.
What Can You Use Clideo Video Cutter For?
You can use Clideo Video Cutter for many everyday video tasks. It is not only for influencers or video pros. It is for anyone with a video that needs a little trim.
For example, you can use it for:
- Social media clips. Cut a long video into a short post.
- Family videos. Keep the funny moment. Remove the blurry part.
- School projects. Make your video neat and focused.
- Work presentations. Remove dead air before sharing.
- Tutorials. Start right where the lesson begins.
- Travel videos. Keep the sunset. Skip the pocket footage.
Shorter videos are easier to watch. They are also easier to share. A clean clip feels more polished. Even if you made it in just a few minutes.
Step 1: Open Clideo Video Cutter
First, go to the Clideo Video Cutter page in your browser. You can use Chrome, Safari, Firefox, Edge, or another modern browser.
You do not need to install a video editor. You do not need to create a fancy editing studio. Just open the tool. That is it.
This is one of the best things about online tools. They are ready when you are. Like instant noodles, but for video editing.
Step 2: Upload Your Video
Next, upload your video. You will usually see a button that lets you choose a file from your device. Click it. Pick your video. Wait for it to upload.
The upload time depends on your video size and internet speed. A short video uploads fast. A large video may take longer. Be patient. Maybe sip some water. Your future trimmed video is on the way.
Clideo may also support importing files from cloud storage, depending on the available options. This can be helpful if your video is not saved directly on your device.
Before you upload, check a few things:
- Is this the correct video?
- Is the file not too huge?
- Is your internet connection stable?
- Do you know which part you want to keep?
If yes, you are ready for the fun part.

Step 3: Choose the Part You Want to Keep
After your video uploads, you will see a video preview. You will also see controls for cutting. These controls let you set the start and end points.
The start point is where your final video begins. The end point is where your final video stops.
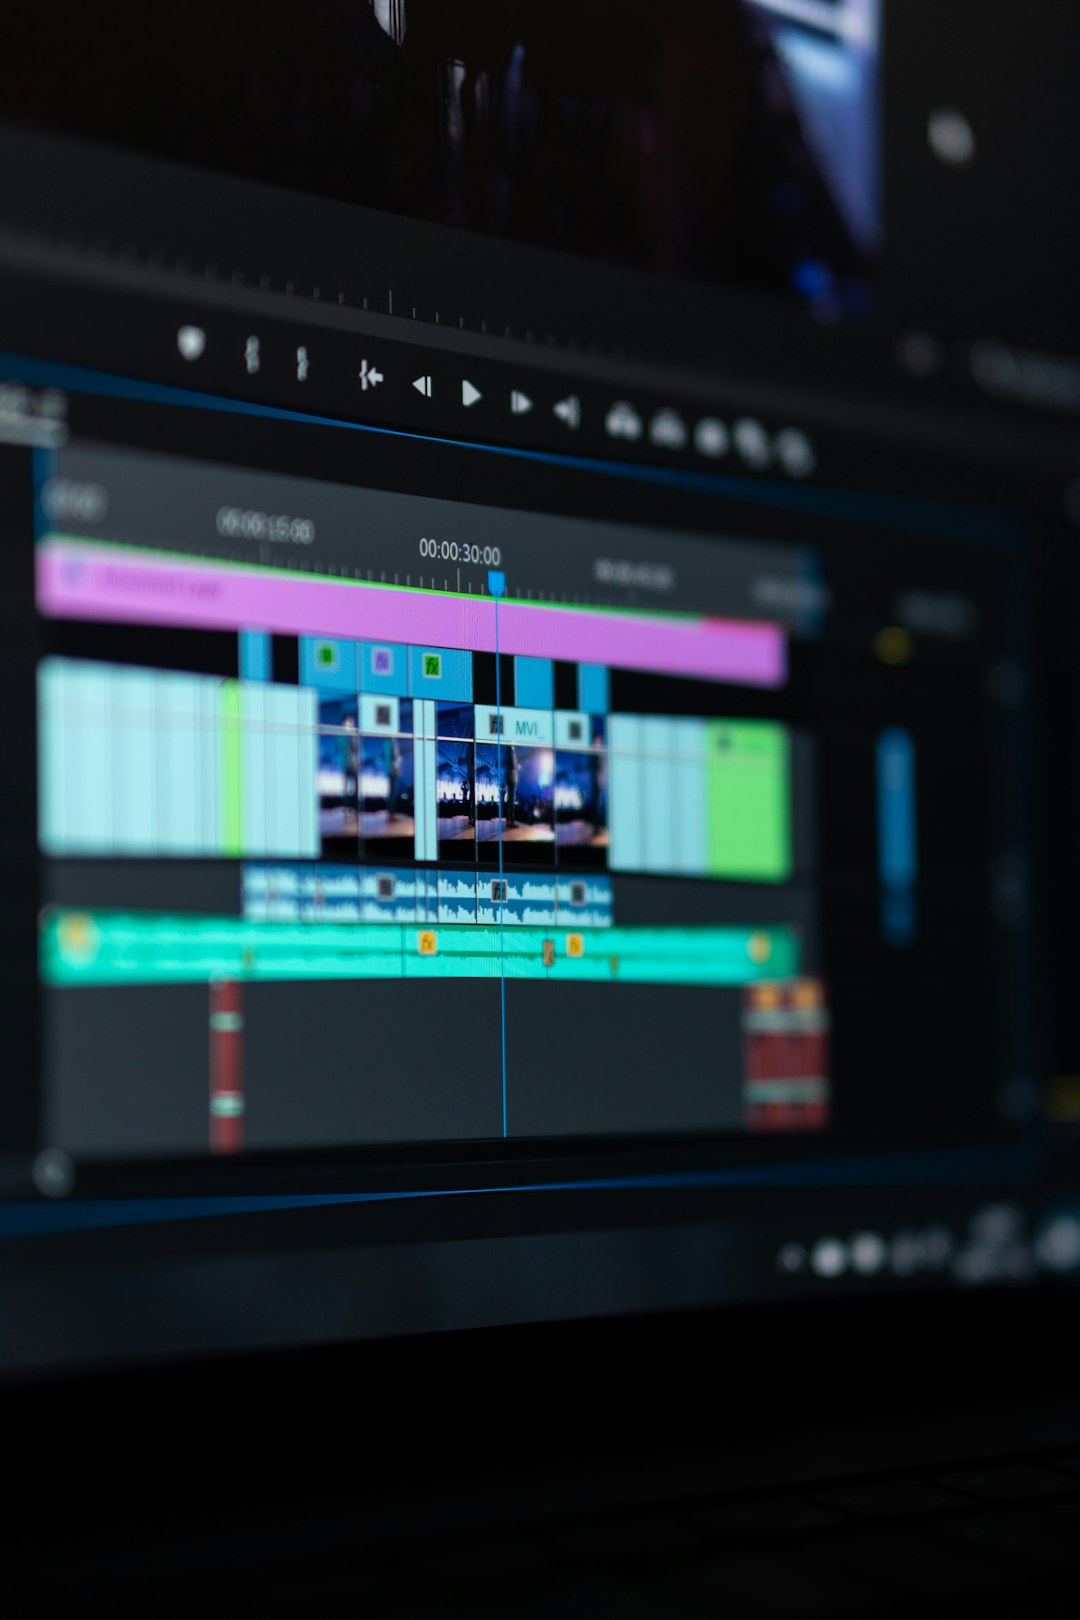
You can usually drag handles along a timeline. Move the left handle to cut the beginning. Move the right handle to cut the end. You can also type exact times if the tool offers that option.
For example, let us say your video is 2 minutes long. The good part starts at 00:15 and ends at 01:20. Set the start to 00:15. Set the end to 01:20. Now your final clip will only include that part.
Easy. Clean. No drama.
Step 4: Preview Your Trim
Before you export, preview your video. This step matters. It helps you catch mistakes.
Maybe you cut too early. Maybe a word gets chopped off. Maybe the ending stops before the big moment. Previewing helps you fix this before saving.
Watch the start. Watch the end. Make sure the cut feels smooth.
Ask yourself:
- Does the video start at the right moment?
- Does it end at the right moment?
- Is the important action included?
- Does the clip feel too short?
- Does anything feel awkward?
If something feels off, adjust the handles. Tiny changes can make a big difference.
Step 5: Pick Your Output Settings
Clideo may give you options before export. For example, you may be able to choose the output format. Common formats include MP4, MOV, AVI, and others.
For most people, MP4 is a safe choice. It works almost everywhere. It is good for social media, websites, phones, and computers.
If you are not sure what to choose, pick MP4. It is the friendly golden retriever of video formats.
You may also see options related to processing or saving. Choose what fits your needs. If you only want a simple trimmed video, keep it simple.
Step 6: Export and Download
Once everything looks good, click the export or cut button. Clideo will process your video. This may take a little time. The tool is creating your new trimmed file.
When processing is done, download the final video. Save it to your device. Give it a clear name so you can find it later.
For example, instead of naming it video final final really final 7, try something simple. Use a name like birthday clip trimmed or product demo short.
Your future self will thank you.
Tips for Better Video Trimming
Trimming is simple. But a few tips can make your clips look much better.
- Leave a tiny bit of space at the start. Do not cut so close that the video feels sudden.
- Do not end too early. Let the final action or sentence finish.
- Use the preview. Always check before exporting.
- Keep your purpose in mind. A social media clip may need to be short. A tutorial can be longer.
- Remove boring parts. Long pauses can make viewers leave.
- Save the original file. Keep a backup in case you want to edit again.
A good trim is almost invisible. The viewer should not think about the cut. They should just enjoy the video.
How Short Should Your Video Be?
This depends on where you want to use it. There is no magic length. But shorter is often better online.
People scroll fast. Very fast. If your video starts slowly, they may leave. So trim the beginning if it has waiting, setup, or silence.
Here are simple length ideas:
- Social media teaser: 10 to 30 seconds.
- Product highlight: 30 to 60 seconds.
- Short tutorial: 1 to 3 minutes.
- Personal memory: as long as it stays fun.
The best length is the length that keeps the good stuff. If a part does not help the video, cut it. Be kind. But be brave.
Common Mistakes to Avoid
Even simple tools can lead to silly mistakes. Do not worry. They are easy to avoid.
Here are common trimming mistakes:
- Cutting off speech. Make sure the first and last words are complete.
- Forgetting to preview. Always check the clip before download.
- Choosing the wrong file. Look at the video name before uploading.
- Exporting in a strange format. Use MP4 if you are unsure.
- Deleting the original too soon. Keep it until you are fully done.
Also, do not trim when you are in a huge rush. Fast is good. Too fast can be messy. Take one extra minute and check your cut.
Is Clideo Video Cutter Good for Beginners?
Yes. It is a good fit for beginners because the process is visual. You do not need to understand video editing terms. You only need to know where the video should start and stop.
The timeline makes it easy. Drag. Preview. Export. Done.
That is why it works well for students, parents, small business owners, creators, and anyone who wants a cleaner video without learning complex software.
If you can crop a photo, you can probably trim a video with Clideo. It is the same basic idea. Keep what matters. Remove what does not.
Can You Use It on a Phone?
Yes, you can usually use Clideo Video Cutter in a mobile browser. This is useful if your video is already on your phone.
Open the tool. Upload the clip. Set your start and end points. Export it. Download it back to your phone.
Mobile editing can feel a little tighter because the screen is small. So zoom in if needed. Take your time with the handles. If exact timing is important, use a larger screen when possible.
What About Privacy?
When using any online video tool, think about privacy. You are uploading a video to a web service. So avoid uploading highly sensitive content unless you understand the service rules and privacy policy.
For normal clips, like social videos, school projects, or casual content, online cutting can be very convenient. For private business files or personal documents, be more careful.
A simple rule is this: if the video is very private, check the privacy details first.
Final Thoughts
Clideo Video Cutter is a handy way to trim videos online. It is simple, quick, and beginner-friendly. You upload your video. You choose the part you want. You preview it. Then you download the trimmed result.
It helps remove awkward starts, long endings, and boring bits. It makes your videos cleaner and easier to watch. And best of all, you do not need to install heavy editing software.
So the next time your video has too much “uhhh,” waiting, walking, fumbling, or accidental ceiling footage, do not panic. Open Clideo Video Cutter. Make a few cuts. Keep the gold. Toss the fluff.
Your video is still your video. It is just tidier now. Like a haircut. But with fewer tiny hairs on the floor.