
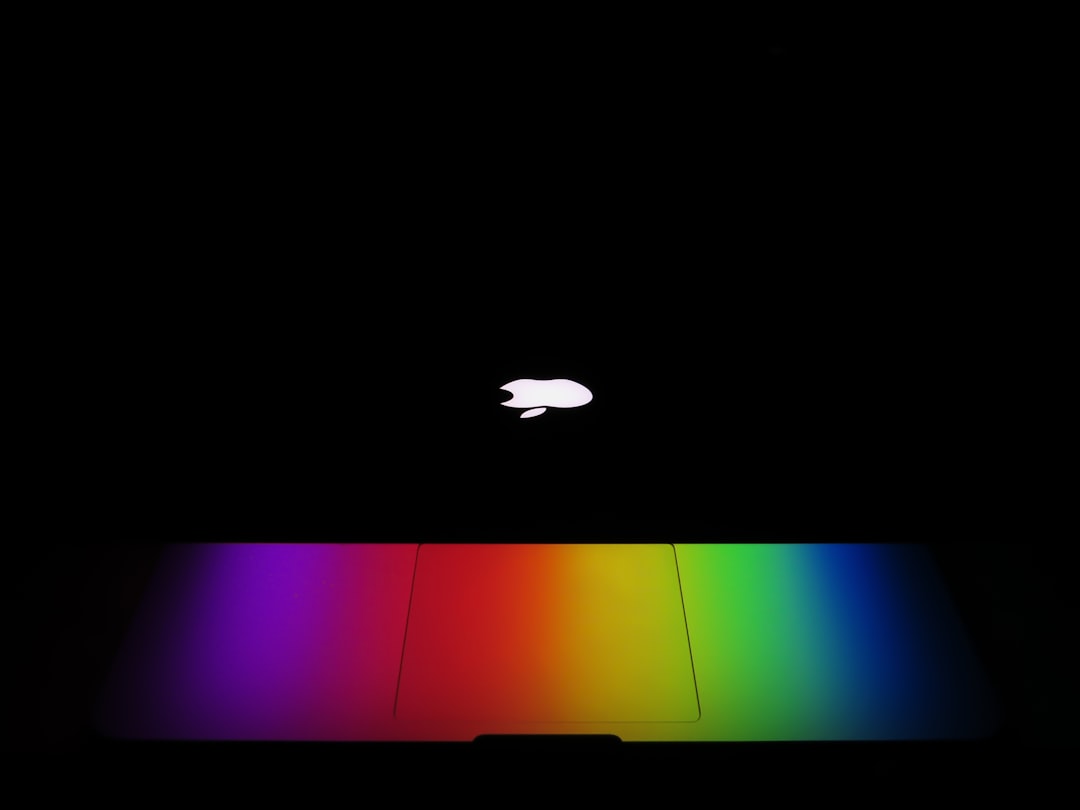
Your MacBook screen should look crisp, clean, and happy. So when a weird yellow spot appears, it feels rude. Like your display just spilled mustard on itself. Good news. A yellow spot is often easy to test, and sometimes easy to fix. This guide walks you through the best MacBook screen yellow spot troubleshooting steps for 2026.
TLDR: A yellow spot on a MacBook screen can come from software settings, heat, pressure, dirt, liquid damage, or display hardware failure. First, check True Tone, Night Shift, color profiles, and external display behavior. Then inspect the screen, restart, cool the MacBook, and test in Safe Mode. If the spot stays in the same place, especially on a white background, it may need professional repair.
What Does a Yellow Spot Mean?
A yellow spot is a discolored area on your MacBook display. It can look pale yellow, orange, brown, or warm white. It may be small like a pea. It may be large like a potato chip. Not ideal.
The spot may show only on white or gray backgrounds. It may vanish on dark screens. It may also get worse when the MacBook gets hot.
There are two big categories:
- Software causes: Settings make the screen warmer than expected.
- Hardware causes: The display panel, backlight, coating, or layers are damaged.
Start with software checks. They are fast. They are free. They do not require tiny screwdrivers or bravery.
Step 1: Check Night Shift
Night Shift makes your screen warmer at night. It reduces blue light. Nice for sleepy eyes. Not nice when you think your MacBook has a yellow disease.
To check it:
- Click the Apple menu.
- Open System Settings.
- Go to Displays.
- Look for Night Shift.
- Turn it off.
If the yellow tint disappears, you found the culprit. It was not a screen crisis. It was bedtime mode wearing a disguise.
Step 2: Turn Off True Tone
True Tone changes the screen color based on your room lighting. In warm indoor light, it may make the display look yellow. This is normal. But it can confuse your eyes.
To test it:
- Open System Settings.
- Click Displays.
- Find True Tone.
- Turn it off.
Now look at a white page. Use a blank document or a white browser page. If the spot is gone, you are safe. Your MacBook was just being “smart.” Maybe a little too smart.
Step 3: Check Color Profiles
Color profiles control how colors appear. A strange profile can make the display look warm, washed out, or yellow. This is common after using photo apps, external monitors, or calibration tools.
Try this:
- Open System Settings.
- Go to Displays.
- Choose your built-in display.
- Look for Color Profile.
- Select the default Apple display profile.
Names may vary by model. On many MacBooks, the default profile includes words like Color LCD, Display P3, or the MacBook model name.
If colors suddenly look normal, great. You just fixed it with a few clicks. No repair bill. No sad violin.
Step 4: Restart Your MacBook
Yes, the classic move. Restarting sounds too simple. But it works more often than people admit.
A temporary graphics glitch can create weird color behavior. It may look like a stain. It may not be one.
Click the Apple menu, then click Restart. Wait for the MacBook to boot again. Check the same area of the screen.
If the yellow spot is gone, celebrate with a snack. Your MacBook just needed a tiny nap.
Step 5: Test With a White Background
You need a clean test. Use a plain white background. This makes yellow spots easier to see.
Open one of these:
- A blank note in the Notes app.
- A blank document in Pages.
- A white browser tab.
- A display test website with solid colors.
Move the window around. Watch the yellow spot.
Ask yourself:
- Does the spot stay in the same physical place?
- Does it move with the window?
- Does it appear only in one app?
- Does it show in screenshots?
This is important. If the spot appears in a screenshot, it may be software. If it does not appear in a screenshot, it is more likely display hardware.
Step 6: Take a Screenshot Test
Press Shift + Command + 3. This takes a screenshot.
Now open the screenshot on another device. Use your phone, tablet, or another computer.
If the yellow spot is visible in the screenshot, the issue may be caused by software, an app, or graphics output.
If the screenshot looks clean on another device, your MacBook screen is likely the problem. The display is showing discoloration that the system itself does not “see.”
Think of it like this. If a mirror has a smudge, your face is not smudged. The mirror is.
Step 7: Check for Heat Problems
Heat can make display issues more obvious. Some yellow spots appear after long video calls, gaming, editing, or charging. MacBooks are thin. Heat has fewer places to hide.
Give your MacBook a cool-down break:
- Save your work.
- Shut down the MacBook.
- Unplug the charger.
- Let it rest for 20 to 30 minutes.
- Move it to a cool, shaded area.
Turn it back on. Check the spot again.
If the yellow area fades when cool and returns when hot, it may be a display layer or backlight issue. It may also be related to internal heat. That needs attention.
Step 8: Remove Pressure From the Screen
MacBook screens are slim. Very slim. They do not enjoy pressure. A tight backpack, heavy books, keyboard covers, webcam covers, or hard shells can press on the display.
Pressure damage can create yellow patches. It can also create bright spots, cloudy areas, or dark marks.
Check these common troublemakers:
- Keyboard covers: Some are too thick.
- Webcam covers: Many are unsafe for MacBook lids.
- Screen protectors: Poor ones can trap heat or pressure.
- Hard cases: Bad fit can twist the lid.
- Backpacks: Too much pressure can bend the display.
Remove accessories for a few days. Use the MacBook normally. If the spot improves, pressure may be the villain.
Step 9: Clean the Screen Carefully
Sometimes the “yellow spot” is not inside the screen. It is on the screen. Grease, cleaner residue, smoke, dust, or mystery fingerprints can look like discoloration.
Clean it safely:
- Shut down the MacBook.
- Unplug all cables.
- Use a soft microfiber cloth.
- Lightly dampen the cloth with water.
- Wipe gently in small circles.
- Dry with another microfiber cloth.
Do not spray liquid directly on the screen. Do not use window cleaner. Do not scrub like you are cleaning a frying pan. The screen coating is delicate.
If the spot wipes away, wonderful. Your screen was just wearing grime makeup.
Step 10: Check for Liquid Damage
Liquid damage is sneaky. It does not always look dramatic. A tiny splash near the hinge can creep into the display area. Later, yellow or brown spots may appear.
Signs of possible liquid damage include:
- Yellow, brown, or cloudy patches.
- Streaks near screen edges.
- Flickering display.
- Sticky keys.
- Random shutdowns.
- A spot that grows over time.
If you suspect liquid damage, stop using the MacBook heavily. Back up your files right away. Do not heat it with a hair dryer. That can make things worse. Rice is also not magic. It is just crunchy disappointment.
Step 11: Boot in Safe Mode
Safe Mode loads macOS with only essential items. It can help reveal software problems.
For Apple silicon MacBooks, such as M1, M2, M3, M4, or newer:
- Shut down the MacBook.
- Press and hold the power button.
- Wait for startup options.
- Select your startup disk.
- Hold Shift.
- Click Continue in Safe Mode.
For Intel MacBooks:
- Shut down the MacBook.
- Turn it on.
- Immediately hold Shift.
- Release when the login window appears.
Check the yellow spot in Safe Mode. If it disappears, software may be involved. If it stays, hardware is more likely.
Step 12: Test With an External Monitor
Connect your MacBook to an external monitor. Use USB-C, HDMI, or a hub if needed.
Now compare both screens.
- If the yellow spot appears only on the MacBook screen, the built-in display may be damaged.
- If the yellow spot appears on both screens, check software, color settings, or graphics issues.
- If the external display looks perfect, your MacBook display is the main suspect.
This test is simple and powerful. It is like asking another screen to be a witness.
Step 13: Update macOS
In 2026, macOS updates still matter. Apple often fixes display bugs, color issues, and graphics problems through updates.
Go to:
System Settings > General > Software Update
Install available updates. Then restart. Check the spot again.
Before updating, back up your data. Use Time Machine or another backup method. Backups are boring until they save your life. Then they become heroes.
Step 14: Reset Display Related Settings
If your display settings are messy, reset them manually. Turn off Night Shift. Turn off True Tone. Set brightness to the middle. Choose the default color profile. Turn off any third-party color apps.
Apps that change color temperature can include blue light filters, design tools, screen dimmers, and calibration software.
Quit those apps. Restart. Test again.
If the yellow spot was caused by software, this often clears it.
When Is It Hardware Damage?
Here is the big clue. If the yellow spot stays in the same physical place, no matter what app you use, it is probably hardware.
Common hardware causes include:
- Backlight discoloration: Uneven light behind the screen.
- LCD layer damage: A layer inside the display has changed color.
- Mini LED blooming or panel fault: Possible on some high-end models.
- Pressure damage: The screen was squeezed or bent.
- Liquid damage: Moisture affected the display layers.
- Adhesive aging: Heat can affect internal bonding over time.
Hardware spots usually do not vanish with settings. They may grow. They may change with heat. They may look worse on white and gray backgrounds.
Image not found in postmetaShould You Try a DIY Repair?
Usually, no. MacBook displays are expensive and delicate. The glass, panel, camera, sensors, cables, lid, and hinges are packed tightly together. One wrong move can turn a yellow spot into a black screen. That is not an upgrade.
DIY screen replacement may also affect warranty or service options. If your MacBook is covered by AppleCare or consumer protection laws, get official support first.
If you are out of warranty, compare repair costs. Ask for a full display assembly quote. Also ask if the repair includes parts, labor, and any warranty on the replacement.
When to Contact Apple or a Repair Shop
Get professional help if:
- The yellow spot stays after all software checks.
- The spot is growing.
- The screen flickers.
- You see lines, shadows, or dark patches.
- There was a spill.
- The MacBook was dropped or squeezed.
- The spot affects your work.
Take photos before your appointment. Use a white background. Take one photo when the MacBook is cool. Take another after it warms up. This helps the technician see the pattern.
How to Prevent Yellow Spots
A few habits can protect your display. They are simple. They are not exciting. But they work.
- Do not use thick webcam covers.
- Avoid bulky keyboard covers.
- Do not put heavy items on the closed lid.
- Use a padded laptop sleeve.
- Keep drinks far away.
- Clean the screen with microfiber only.
- Avoid leaving the MacBook in a hot car.
- Let the MacBook cool during heavy work.
Also, do not close the lid with crumbs on the keyboard. A tiny crumb can become a screen villain. Small bread. Big drama.
Quick Troubleshooting Checklist
Use this mini checklist when you want fast answers:
- Turn off Night Shift.
- Turn off True Tone.
- Reset the color profile.
- Restart the MacBook.
- Test on a white background.
- Take a screenshot and view it elsewhere.
- Let the MacBook cool down.
- Remove pressure accessories.
- Clean the screen safely.
- Boot in Safe Mode.
- Test with an external monitor.
- Update macOS.
- Contact support if the spot remains.
Final Thoughts
A yellow spot on a MacBook screen is annoying. But it is not always a disaster. Many cases are caused by display settings like Night Shift, True Tone, or color profiles. Those are quick fixes.
If the spot stays in one place, survives Safe Mode, and does not show in screenshots, the display hardware is likely the issue. At that point, stop poking the screen and call a professional. Your MacBook deserves better than a panic tap attack.
Stay calm. Test step by step. Keep snacks nearby. Troubleshooting is easier when you are not hungry.
Leave a Reply